Do you want to get fabulous gel nails at home? Yes, you have arrived at the right place. Before you learn the basics of a DIY gel nail manicure, let us clear some misconceptions about DIY nail manicures.
- You need not be a perfectionist to master the gel nail polish manicure technique.
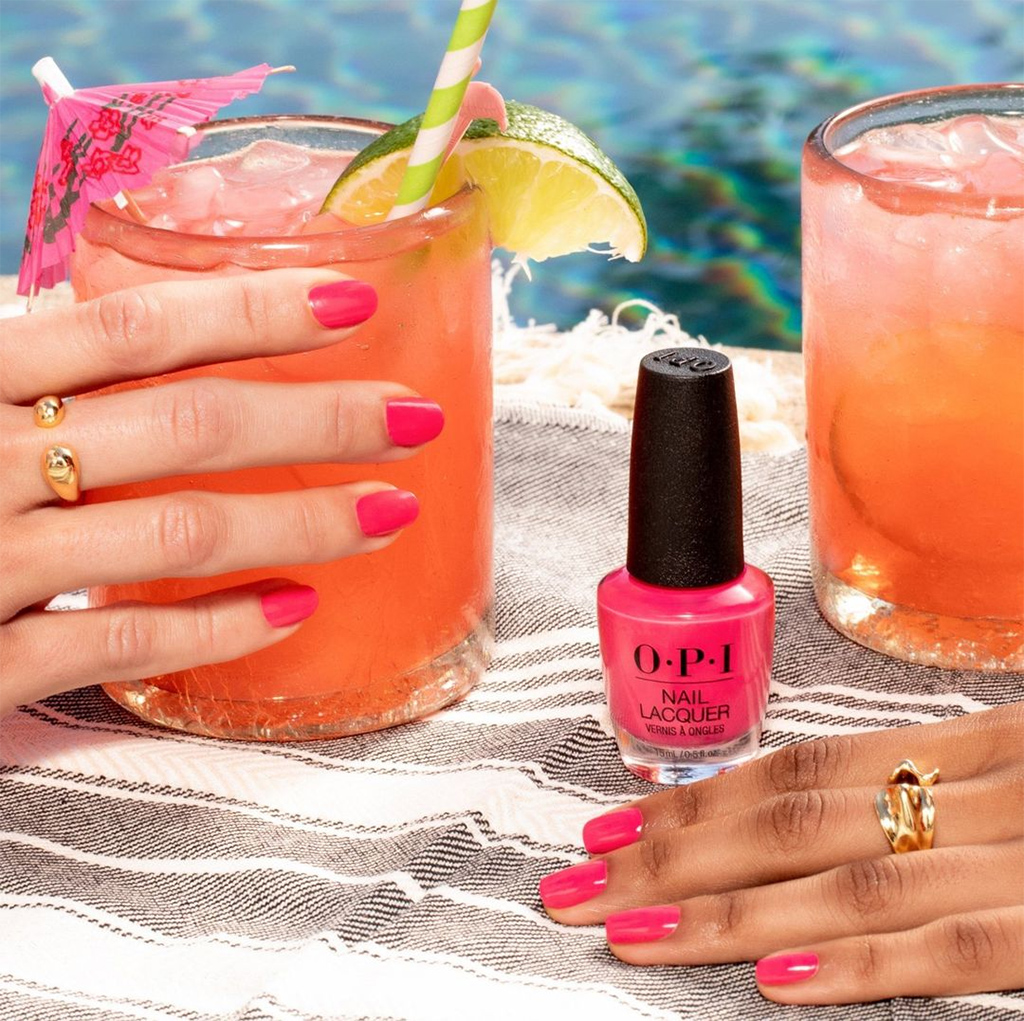
- If you feel that cheap polish saves you money, you are wrong. You spend more in the long run. It is better to go for quality brands. Visit our website to get the best nail polish products.
- Learning how to remove gel polish is equally essential. The final part of this article deals with the gel color nail polish removal technique.
Let us now dive straight into the gel polish manicure.
Nail Polish Application
We assume that you have taken care of the hygiene aspects. It is better to trim your nails and get them into perfect shape for your gel manicure. One should remember to ensure there are no oil or lotion deposits on your nail. They can cause the polish to lift. You can buff the top layer of your nails to rough up the surface slightly and allow the gel polish to stick to your nails properly. Wash your hands with soap and dry them using a hand dryer.
You should not forget to push the cuticles inside their grooves. Painting over your cuticles can cause the lifting of the polish.
Get your nail manicure kit in place. The kit includes the basecoat, gel color, topcoat application, UV lamp, gel polish remover, pH bond/alcohol, lint-free cotton wipes, brushes, etc.
Initially, you apply the pH bond to your nails and allow them to sit for around 30 seconds. You can also use alcohol instead of the pH bond. The purpose is to dehydrate your nails and simplify the manicure process.
Apply a thin layer of basecoat on the nail surface. A thick coat will result in an improper manicure. Your polish layer will lift and allow moisture to seep into the nail and cause nail infections. If you find the basecoat spilling over to the cuticles and surrounding skin, you can use the angles brush dipped in acetone to remove the excess basecoat. The most significant part of the exercise is the curing of the basecoat layer under the UV lamp. It should not take much time.
The next step involves applying nail gel color to your nails. This process requires a lot of practice to master. Initially, you might apply a streaky coat extending to your cuticles and surrounding skin. Under such circumstances, you should use the angled brush dipped in acetone to remove the excess paint before it thickens. The next step is the curing of the polish layer under the UV lamp.
You can apply a second coat or even a third coat, depending on your requirements. However, you should ensure to cure the polish layer after each coat.
Finally, you apply the topcoat to your nails. One should note to use a thin layer of topcoat. The logic behind it is that the topcoat can drip off to the nail edges. Hence, it is better to go slow. Use the angled brush again to clean the excess topcoat that slips over the edges. The next step is to cure the topcoat application layer two times under the UV lamp. Your nail polish layer should appear tacky.
Use the lint-free wipes to remove the sticky residue. You can also dab a layer of cuticle oil to hydrate your nails. The entire procedure should not take more than 45 minutes for both hands.
Your gel manicure is ready to last for a good part of three weeks before you need to go for a nail polish removal process. The following paragraphs deal with the gel polish removal techniques.
Nail Polish Removal
Once you decide to remove the gel polish layer, you should use a nail file and scrape away gently at the top layer. It makes your job of removing the gel nail polish easy.
Use cotton balls dipped in nail polish-removing solutions and place them on your nails. An aluminum wrap is ideal for keeping the cotton balls in position. Maintain the position for around 25 to 30 minutes.
You can now remove the aluminum wrap and the cotton balls. Your gel polish layer slides off easily. Wash your nails with soap and water and wipe them dry.
Massage your nails gently using cuticle oil. The purpose behind it is to rehydrate the nails. Acetone can dehydrate your nails of all the water content. Besides, it is advisable to wait for a week before going for a new nail manicure. It allows the nail to heal naturally.
Final Thoughts
You can see that a DIY gel nail manicure is not a challenge, after all. Anyone can master the technique at home with practice. It saves time, money, and labor. Besides, it is tremendous fun painting your nails and experimenting with different colors.